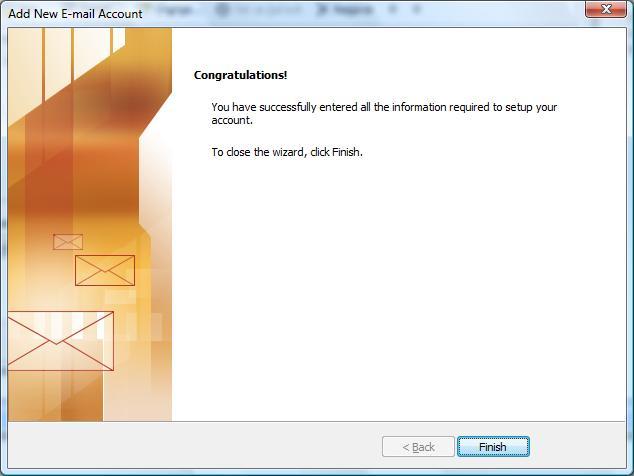
1. Open Microsoft Outlook 2010.
At the top of the page click on the 'Tools' menu and then select 'Account Settings...'.
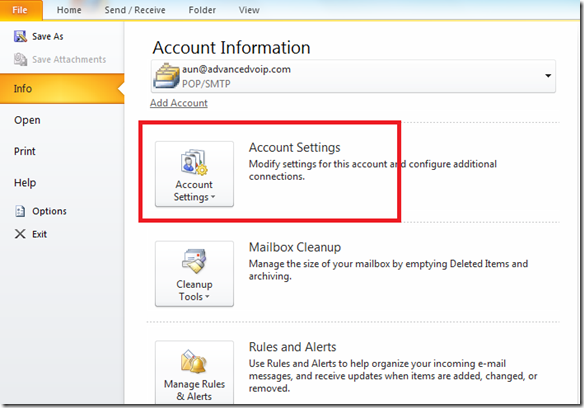
2. E-mail Accounts
Click the 'New' button under the 'Email' tab.
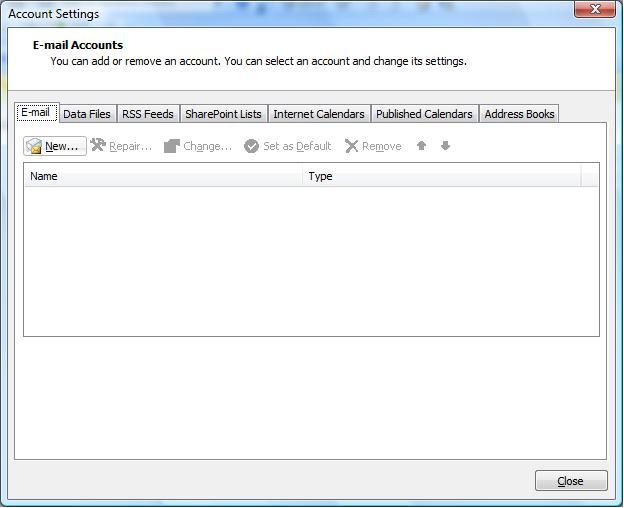
3. Auto Account Setup
Check the box at the bottom for 'Manually configure server settings or additional server types'.
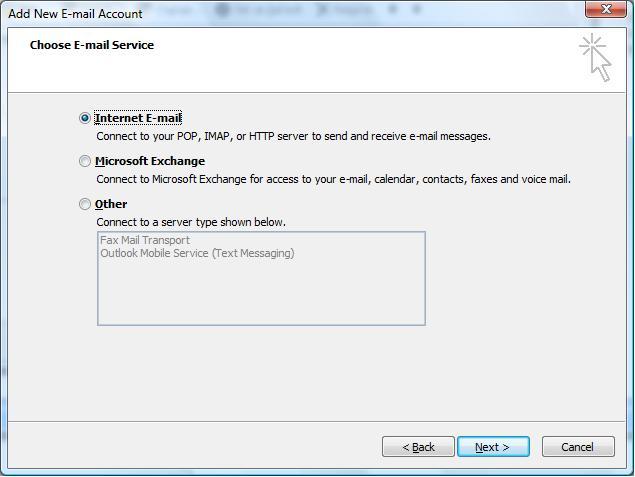
4. Choose E-mail Service
Choose the E-mail Service: Put a dot in 'Internet Email' (or in 'Microsoft Exchange, POP3, IMAP, or HTTP' depending on the screen user is viewing).
5. Make sure that your settings look like the settings shown in this screenshot.
The following are the most important:
- Your Name: Your Name (eg. John Smith)
- E-mail Address: email@domain.tld (eg. john@test.com
- Incoming mail server (POP3): pop.abc.com
- Outgoing mail server (SMTP): smtp.abc.com
- User Name: type your email id(eg. john.test.com NOT john@test.com)
- Password: The one you specified in your EasyMail Setup (8 characters maximum).
Once your settings look like the settings shown in this screenshot, click on the 'More Settings...' button in the bottom right hand corner.
6.Internet E-mail Settings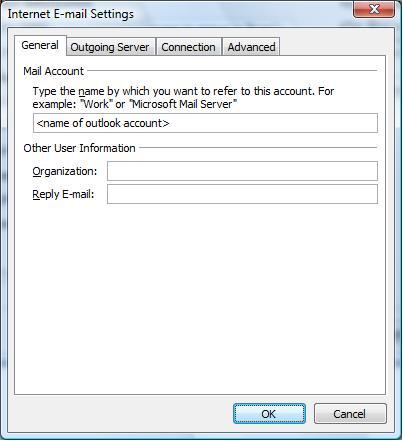
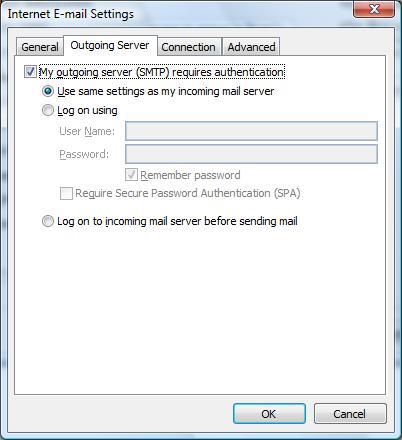
7. Outgoing Server
Put a checkmark in 'My outgoing server (SMTP) requires authentication' and make sure that the dot is in 'Use same settings as my incoming mail server'.
8. Advanced
Click on the 'Advanced' tab at the top.
Make sure that your settings look like the settings shown in this screenshot.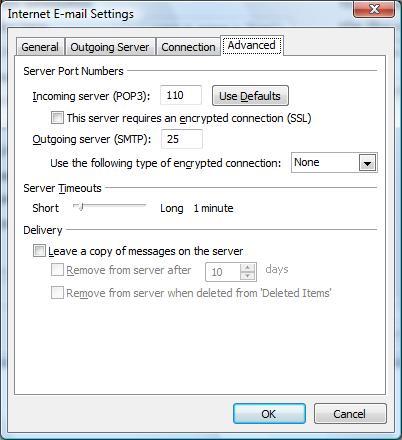
9. Click the 'OK', 'Next' and then 'Finish' buttons and now you should be able to send and receive email.
